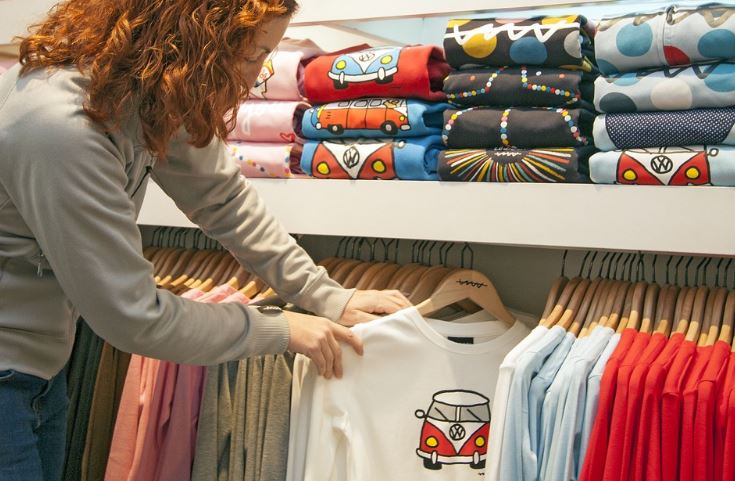
A vinyl cutter is a versatile cutting tool. Whether you are planning to start up a garment business or a vinyl sticker business, designing your T-shirt is in trend right now. Customized T-shirts also make for great gift ideas for the holidays, especially if you have a large family. And a vinyl cutter is here to make this process easier for you.

Which Vinyl Cutter To Use?
Perhaps the most important question for any beginner is which vinyl cutter to use and where to start? Choosing the right vinyl cutter plotter is essential if you plan to work professionally or start up a small business. Therefore, whether you need a vinyl cutter for a business or craft project will determine the type of cutter you should buy. So be sure to spend enough time and decide carefully before making a purchase.
What You Will Need
- Vinyl cutter
- Heat Transfer Vinyl
- Pure cotton or polyester, or cotton-polyester mixed T-shirt
- Weeding tools (tweezers, Exacto knife, etc.)
- Scissors
- Sharpies
- Paper (preferably flex, which sticks to fabrics better and is also cheaper, a win-win!)
- Teflon sheet
- Safety Ruler
- Thermometer kit (To get the heat press temperature right!)
Step 1. Decide Your Symbol and Text
The most important aspect of a T-shirt after the fabric is how it looks. So be sure to spend enough time to come up with a design that is eye-catching as well as portrays the message you want to convey.
First, roughly sketch a design or the labels on the back of the T-shirt with sharpies. Keep your text within 30 words to ensure large font size and ease of weeding. Remember to choose silhouettes or outlines that are simple enough to design digitally as well as easier to weed the vinyl.
Step 2. Digital Design
Softwares such as Adobe Illustrator, Inkscape, or InkPad are capable of vector-based design. One example to help you work on the Adobe Illustrator:
- Open File>New, then set the Unit to inches, adjusting the height and width to 12. Adjust your viewing by zooming in or out from the ‘View’ option.
- Create an outline with the Shape Tool . Access other shapes with the ‘Rectangle Tool’. Then click and drag the shape and readjust using Selection Tool (black arrow).
- Add text with the Type tool and change the font and size as you see fit.
- Remember to save your file after you are done. Name your file according to the vinyl cutter.
Step 3. Transfer File To Vinyl Cutter Computer
After designing, transfer the file to the vinyl cutter via email, flash drive, or a cord depending upon the model. Keep in mind to reverse the file that you will send for cutting such that it is a mirror-image of the original file. This is because when the media is loaded on your plotter, the liner is facing upward. When the film is plotted, the bottom of the face film is cut, not the top.
Do this by clicking on Design>Transform>Horizontal.
Step 4. Cutting the Design
Turn on the vinyl cutter and load the flex keeping the origin point of the flex near the bottom-right to minimize wastage. Then turn on the heat press, keeping at the correct temperature (about 305°), which takes about 10 mins to heat up.
Now Click on Cutter>Cut. After cutting, use your scissors to cut the design from the flex. Check again if the design is mirrored before the next step. Only one color can be cut at a time by the cutter, so if you are using multiple cutters, you will need to do it separately.
Step 5. Weeding and Placing Stickers on the T-shirt
Lift and remove the border of the design with the help of weeding tools while leaving the text and symbols attached to the flex paper. Then remove filler pieces like the center of ‘O’ or ‘D’.
Now lay down the backside of your T-shirt and smooth it out. Then carefully put the sticky side of the flex down on the place where you want the design to be and gently smooth it using your fingers.
Step 6. Press
Press is done applying heat to let the design be permanently etched into the shirt. To do this, place the T-shirt on the heat press platform with the stickers facing up. Cover the sticker with the Teflon paper for even heat distribution. Wait for around 15s at 160 °C. Finally, carefully (the hot shirt may burn you!) remove the sticker from the top of the flex.
Step 7. Add Some ‘Bling’
Vinyl cutting may make your t-shirt production easier, but your customers care more about product quality than the process itself. Thus, to make your T-shirt eye-catching, it will be wise to add embellishments like metallic and fluorescent colors, glitter, patterns, or even holographic effects. There are numerous heat-friendly options in the market to check out.
Step 8. Washing Instructions
After all that hard work, you surely don’t want it to go to waste when the T-shirt is washed. Make sure to add these instructions to keep your T-shirt looking as good as new for a long time.
- Always wash the garment turned inside out to protect the design.
- Remember to use a mild detergent with setting at COLD if you are using the washing machine.
- Never use bleach.
- Use the normal dryer setting on the washing machine or hang them out to dry
- Avoid dry cleaning.
- The above advice is for protecting the design when the t-shirts are washed. Please follow any specific instructions for washing the garment itself.
Conclusion
Who knew custom designing T-shirts could be this fun and easy. Now that you know, you will be able to save a ton of time on production time and make more effort on the design quality. Just remember to follow instructions, and you will be the proud owner of some really cool shirts. Great! Now let’s get to it!


